

")
There is nothing wrong with a red Solo cup, but when you’re looking to be a little more classy and original with your beverage containers, try this quick and easy glass tutorial.
Materials
-Empty beer bottle
-Yarn
-Nail polish remover
-Heavy grit sandpaper
-Lighter or matches
-Ice
-Scissors
-Bowl
Directions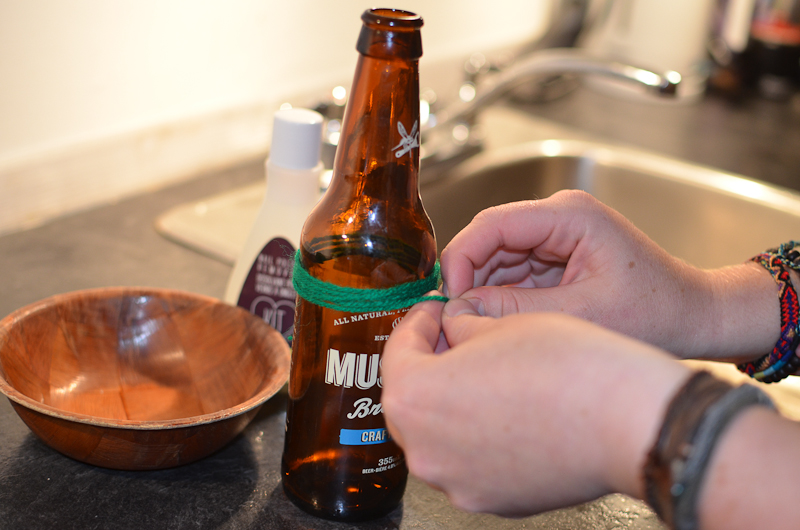
1) The first step is to fill a sink with cold water. Add ice cubes to decrease the temperature even more. The drastic change in temperature is what allows the glass to break so cleanly and evenly, so make sure the water is very cold.
2) Soak the yarn in the nail polish remover.
3) Now you need to wrap some yarn around the bottle. Try to place it just above the label. Cut a length that will allow you to wrap it at least 5-6 times around.
4) Now is the time to make sure everything is straight. Crooked yarn will result in an uneven cut. Once you’ve cut the bottle once, it’s very difficult to correct it.
5) Take your bottle and yarn to the sink and light the yarn up. Make sure your hands are clear from the flame when you do. In order for the yarn to burn uniformly, rotate the bottle constantly until the flame dies out.
6) As soon as you lose the flame, submerge the bottle into the cold water. You should hear a crack and be able to pull the neck off the bottle easily.
7) Now for the MOST IMPORTANT part! Take a heavy grit sandpaper (60-80), and sand down the rim of the glass. If you want, you can use a finer sandpaper (120+) afterwards to even out more imperfections before use.
8) When you can safely run your fingers around the rim and feel smooth glass, pour a nice cold beer and enjoy.


